Castlevania Belmont's Curse: Catacombs of Paris walkthrough (Part 3) - Rock Paper Shotgun
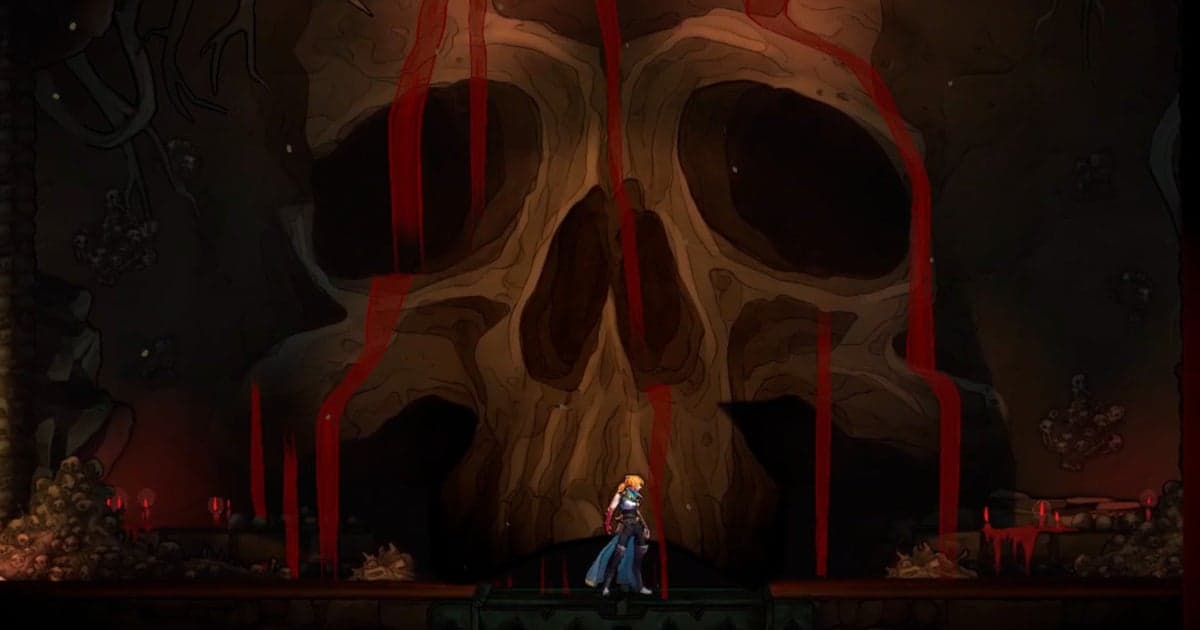
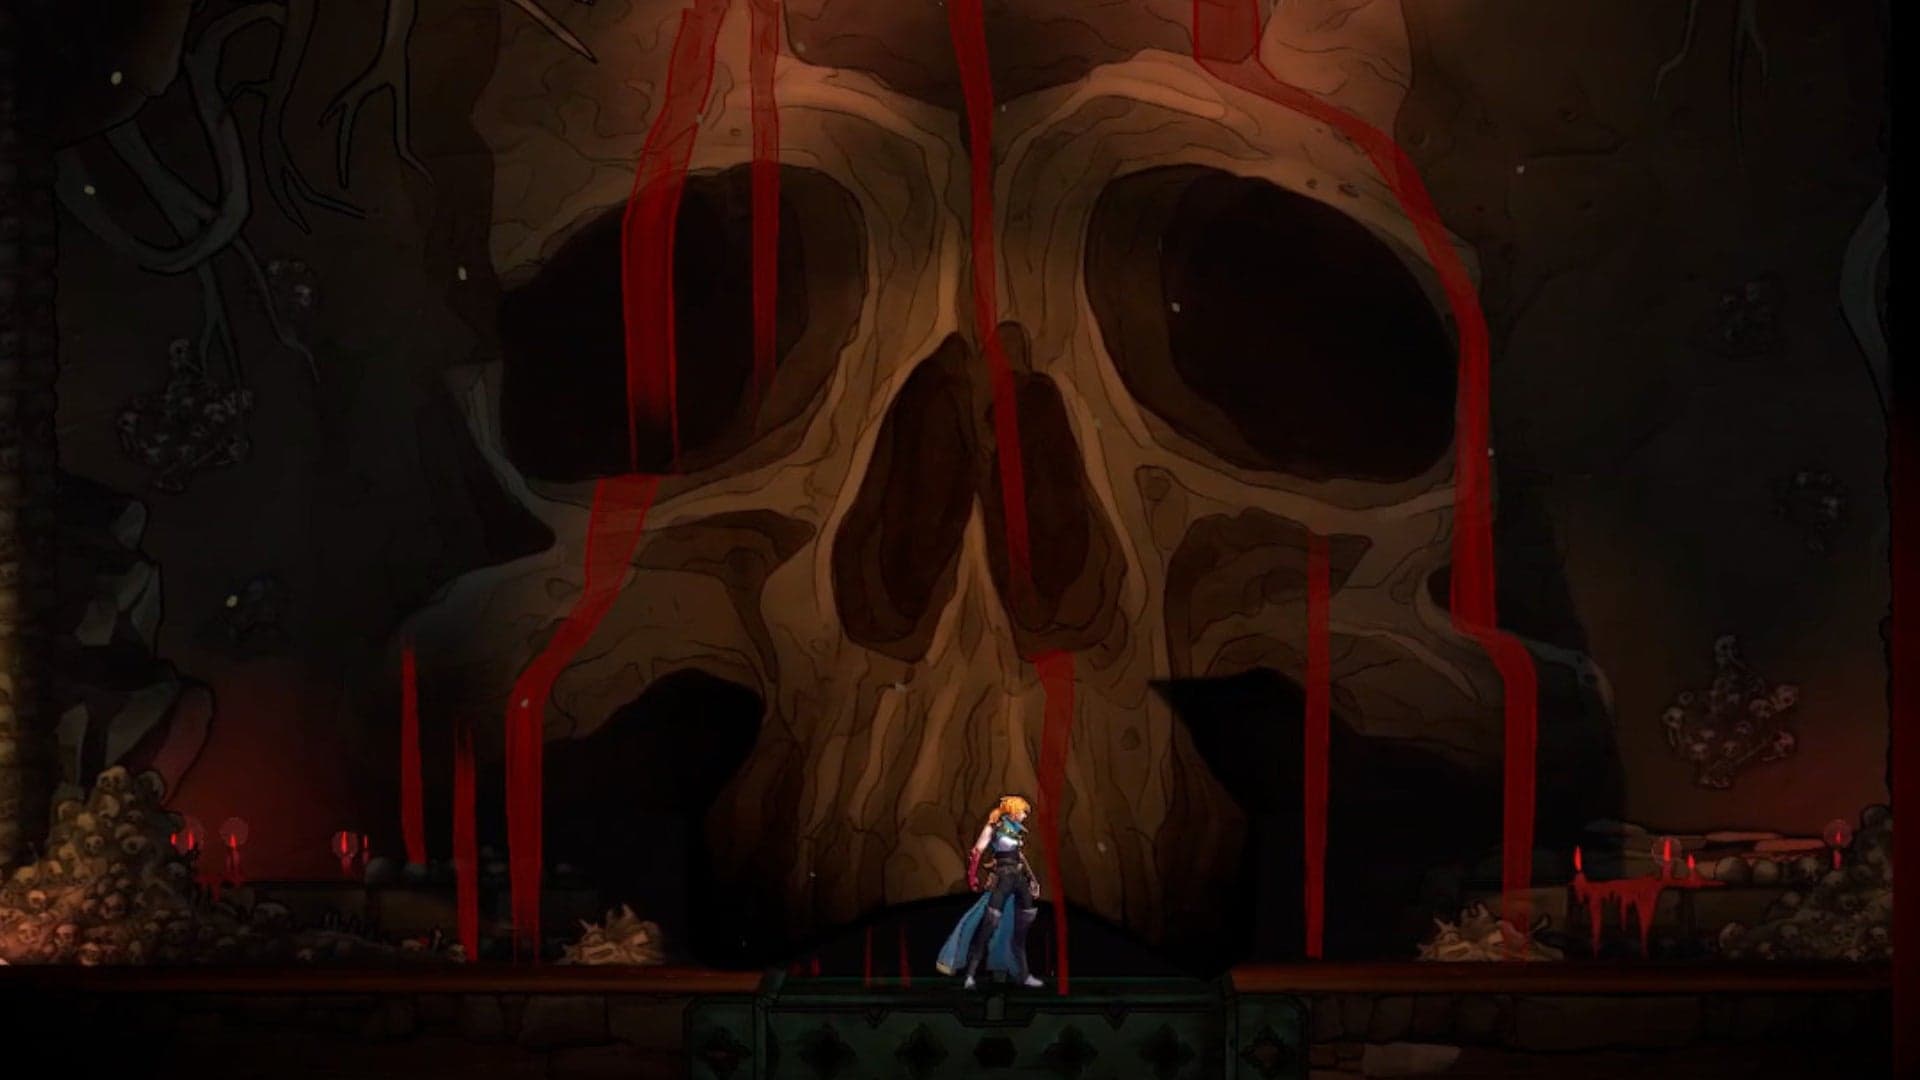

There's a breakable wall atop the next skull that contains a Wall Chicken. Defeat them, and continue to the right and down. You'll use the Lift later - for now, continue going down and then to the right.
How to reach Death in the Catacombs
After vanquishing the Fallen, Joan, and Medusa, Rose Belmont has all of the keys she needs to enter the dungeons beneath Paris, where blood flows freely and a necromantic ritual is underway. Here, she'll come face to face with one of Dracula's prime lieutenants, and chances are, Rose is no match for his power.
In this third part of our walkthrough for Castlevania: Belmont's Curse, we'll explore the Catacombs of Paris and guide you through all of the deadly traps that it contains. This area contains some painful revelations for Rose, but it's also full of goodies galore, including your first whip that actually deals damage to enemies. Plus, you'll be able to fast travel between areas once you make it out of the Catacombs! Let's get started and see what awaits us.
Want the walkthrough for a different section of the game? You'll find the full list of all our guides on our Castlevania: Belmont's Curse walkthrough hub page!
Catacombs of Paris walkthrough steps:
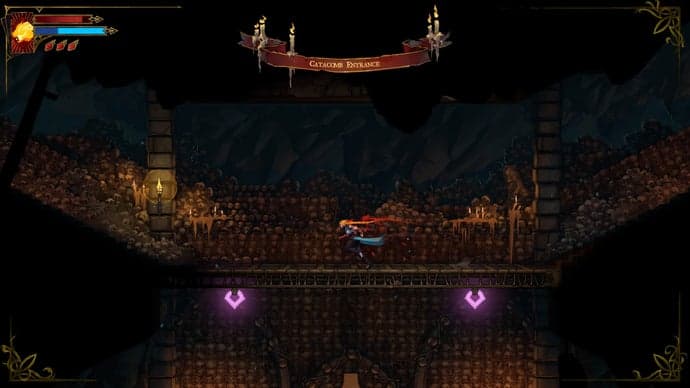
Upon entering the Catacomb Entrance, you'll be surrounded by more skulls than you've ever seen before. Head east or west from your starting point - it doesn't really matter, since both paths circle back around - and drop down a level to land in front of a cross. You can't go right from here, as there are far too many spikes to surmount, so head left instead.
In the next room, dispatch the Ghosts and use Holy Light to fall past the Chaos Shard walls. You'll also encounter your first Skull Spider, a tricky little enemy. Hit these guys once and they'll start to explode, forcing you to slide away or risk taking damage. Continue downwards via Holy Light - a Blood Skeleton and a Skeleton Archer await you, and it's a lot darker down here. Don't get cocky!
Further down, you'll come across a Bone Pillar. This set of dragon heads blocks your progress until you smash it to bits with repeated strikes, and it'll breathe fire towards you all the while. The heads switch direction, as indicated by the glint of their yellow eyes, so try to break the ones that currently aren't breathing fire your way first. Following this, exit right, as the left door is blocked. (Take note of the weird neon green sigils on the walls; those are about to become important.)
In the next room, wall jump up the Chaos Shard walls, and then activate Holy Light to pass through the other wall blocking your way. Deactivate it to continue your wall jump, reactivate it when you need to jump rightwards, and then deactivate it again so that you can land safely. This may take several tries! (Ignore the Brave Heart Fragment on the right for now - we'll come to it in just a sec.)
When you proceed east, two Hunched Skeletons will jump out from the ceiling and the right to surprise you. Break 'em apart and use the Sharpened Anchor to head north. You'll emerge in a room with tonnes of saw blades. Looks like we've got a Crazy Platforming Sequence on our hands here.
Following this, use Holy Light to slide out, and you'll be back where you were before. Instead of wall jumping up, proceed east via Holy Light. A bunch of enemies await you here, including the Fleaman, yet another little bastard from prior Castlevanias. These guys wear green hoods and will jump atop you and cling on, inflicting damage until you can shake them off.
Take the eastern exit to emerge into the Path of the Abyss. Biphrons, Skeleton Archers, and a Red Skeleton in a gibbet are all here to give you a hard time, and the next room contains a whole configuration of moving saw blades, jeez! Go east until you hit the wall, and then drop down when you encounter the saws. There are some nasty spike pits waiting for you if you go too fast, but keep heading down until you're in the Quarry Elevator. A Mirror of Life is to your left, and you can finally catch your breath.
After saving, go east and take the path above the Lift, which we'll activate shortly. This takes you back into the Path of the Abyss, where two saw blades rotate on a rectangular path. Use Holy Light on the Chaos Shard gap to avoid them, then continue right.
You'll see a Virgin Mary Statue, but there's a barrier in the way. Wall jump and swing upwards, then dodge the next saw blade and use Holy Light to make it one more level up. Interact with the lever on the ceiling. This opens a gate to your right with a chest, which contains Mourning Bead, a Relic that temporarily increases Rose's movement speed after she kills an enemy.
Go down the way you came, and note that the barrier to the Virgin Mary Statue is now gone and you can break it. Return to the Mirror of Life and head west to the Crossroads of the Dead. You're standing atop a massive dragon skull in this area, and it looks like you may be able to manipulate it later. For now, go west into the Charnel Galleries.
Holy Light through the walls here and defeat the Skull Spiders and Biphron before whipping upwards. Another room with four rotating saw blades awaits. Wall jump up the right-hand side of the room, then hook onto the Sharpened Anchor (but beware of the other saw blade above you) and land in front of the eastern exit. Speak with the Spirit above you to get the Death Mark Clue. It looks like all of those green sigils on the wall are related to a new card in Rose's deck - the Shadow.
After talking with the Spirit, exit right and unblock the door that you first saw back in Step 1. Then, break the wall to the left of where the Spirit was, making a shortcut that lets you drop down and bypass all of those saw blades to a lever by the exit.
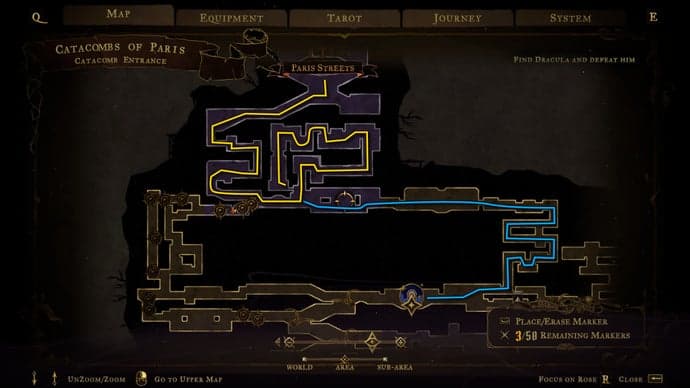
Now let's play "follow the Death Marks". You can see on your map that they seem to go down the left-hand side of the Catacombs. Follow them; you'll reach a space where you're locked in a gauntlet with a bunch of Biphrons and Skull Spiders. After you defeat enough of them, a Giant Skeleton will appear to whack you with its bone. Once all of these opponents are dispatched, you can finally continue east, back to the Crossroads of the Dead.
Hit the lever in front of you to make the massive dragon skulls in the area collapse and form downwards ramps. If you want, you can now head back up to the Mirror of Life to save and heal. But your main route is further down and to the east. Watch out for three Fleamen, who will hop on these fallen skulls and try to slash at you.
You'll be in the Chamber of Whispers, facing more saw blades running on a horizontal track. Time for a Crazy Platforming Sequence!
The left wall near the Death Mark also hides an exit. Take it to re-enter another side of the Crossroads of the Dead, where a chest containing the Pair of Longswords lies. Dual-wielders rejoice; these weapons are very speedy and perfect if you like letting loose with ferocious, long-lasting combos.
Go west of the chest and activate the lever, which once again lowers the large dragon skulls in the area. There's a breakable wall atop the next skull that contains a Wall Chicken. Eat it, then drop down to the floor beneath to find an exit that leads to the Gallery of Teeth. A Blood Skeleton confronts you here; beat it down and then smash the nearby Virgin Mary Statue.
Return east, then whip upwards and go down the skulls. Take the next western exit below you, which will lead to another section of the Gallery of Teeth. After dispatching the Skelerang who stands guard here, you'll probably fall through an invisible floor; defeat the Hunched Skeletons who come at you and then wall jump up to break the Virgin Mary Statue.
Smash the eastern wall where one of the Hunched Skeletons emerged to reveal a new passageway, decorated with a big Death Mark. Enter to emerge back in the Crossroads of the Dead; hit the nearest lever to once again shift the dragon skulls. Defeat the Bone Pillar and head south-west down the fallen skull.
The next room contains saw blades and spikes aplenty. You guessed correctly; it's time for a Crazy Platforming Sequence.
Once again, you're back in a low, sequestered-away part of the Crossroads of the Dead. Interact with the two levers (and watch out for the Hunched Skeleton) to shift the dragon skulls one last time. Then whip upwards so that you can enter the main stretch of the Crossroads of the Dead, and head down the skulls you've just lowered. Head to the south-east exit, past the Biphron and Bone Pillar.
You're now in De Rais Necropolis. Go east, and Bone Pillars will appear on either side of you. Defeat them, and continue to the right and down. You'll come across a very tall and long Bone Pillar blocking further progress. Stand atop it and break each head to bits as you steadily go downwards.
At the bottom, there's a Wall Chicken hidden to the right. Slide through the gap to enter an enemy gauntlet; once everyone's dead, continue left to the Jaws of Limbo.
When you're done taking in the bloody backdrop, hook onto the Anchor and swing up to push the lever. This removes a bunch of barriers beneath you. However, before we drop down, let's go west first, as the next room contains a chest that's inaccessible. Slide down the wall and get ready for yet another Crazy Platforming Sequence.
The chest holds a Necro Charm, a good relic that makes Rose deal extra damage after killing an enemy. Now that you've got it, head east to the Jaws of Limbo and drop down the big centre shaft.
After Rose does a superhero-style landing in the Throat of Hell, swing west to find a Wise Heart Fragment over a spike pit. There's a Sharpened Anchor above you here; latch onto it and open the chest holding the Ebony Claw Relic, which lets Rose stun an enemy for a longer period of time after she breaks their guard.
The western exit leads to the Realm of Old Night. There's a save room nearby, hooray! But you'll need to survive an enemy gauntlet first. Defeat them all, then go save at the Mirror of Life. West of the Mirror of Life is a room that you can't do much in just yet, so return east to the central section of the Throat of Hell, where you first landed.
Go west this time into the Condemned Mineshaft. You'll spot a Lift that acts as a handy shortcut, transporting you back to the Quarry Elevator that you reached at the very end of Step 1.
You'll use the Lift later - for now, continue going down and then to the right. (There's another Lift and a lever nearby that are blocked at the moment.) The next room is the Blood Pits. Jump over the gaps, watch out for the Skull Spiders, and keep progressing right until you see a Death Mark on the wall. Drop down and slide through the gap to reach a room with Fleamen and Skull Spiders. There's a breakable wall to the left near a falling wooden platform that contains a Virgin Mary Statue.
When this side of the room is clear, slide to the right side, defeat the Biphron, and smash the Virgin Mary Statue in the hidden space. Continue your descent until you reach the bottom of the Blood Pits, then run west before the wooden flooring falls from under you. Swing up and to the right on the Anchor to reach an area of the room where several Chaos Shard walls lie. You can wall jump up these to reach a Brave Heart Fragment.
The next room's very dark and red, and features enemies and blades aplenty. Head left, then right over the saw blades, and finally when you reach the bottom, note that there's a Wall Chicken hidden in the western wall if you need a health re-up. Finally, follow the Death Mark to exit via the east.
The next room, the Hall of the Fallen Angels, contains a chest with the Whip, your last weapon type in Belmont's Curse. Pick it up, watch the cutscene, and then put that swinging chain to good use fighting the enemies who arrive!
After obtaining the Whip, there are two exits - one to the left and one to the south. The left one leads to saw blades and spikes that you can't traverse just yet, so head south. You'll fall to the Stairway to Hell (how ominous), where Death Marks are everywhere.
This is a straightforward area. Proceed onwards, defeat the Giant Skeleton and the other foes in your way, and enter another room. Here you can find a lever that's worth activating, as it gives you access to that other Lift you spotted back in Step 6, before you entered the Blood Pits. If you want, you can use both Lifts to make it back to the Mirror of Life before entering the boss door.
It turns out that the boss behind this door is none other than Death, Dracula's right-hand man. And frankly, this is a fight that you're unable to win, as Death will almost assuredly one-shot you once your dialogue with him comes to a conclusion. (If you're truly an expert player, you may be able to land a few shots, as detailed in the write-up in our boss guide, but the outcome is the same.)
A grim cutscene will now ensue. Watch it and realise the dire predicament that poor Rose has found herself dealing with!
When Rose awakens, she's left battered and bruised in the Collapsed Path of Orpheus. Her new objective is to reach Dracula's Castle, but she'll have to get to the surface first. From your starting point, get ready for a series of Holy Light challenges where you'll need to wall jump, pass through Chaos Shard walls, and whip yourself steadily upwards.
In the next room, pass through the Chaos Shard wall with Holy Light, propel yourself off the wall and use the Anchors to steadily swing upwards. There's one Virgin Mary Statue that you should take care not to miss, stuck in an alcove on the right side of the room.
The next room contains more swinging and Chaos Shard manipulation. You're hopefully used to these sorts of traversal challenges by now, so first jump and swing to the left, then the right, and finally use the Sharpened Anchors and Holy Light to pass over the collapsing wooden platforms. After that, it's more wall jumping and Holy Light usage followed by several additional Anchor swings to the top of the Collapsed Path of Orpheus, where three blood-red skull-ensconced pyres burn.
There are two exits here. The one on the left side leads to the Realm of Old Night, and there's a Virgin Mary Statue that you can break, but the rest of the area is blocked. The right exit, however, leads to a glowing blue door with an arcane symbol on it. This is your first Ferryman's Wharf. (There are also a chest and two statues atop this door - alas, we'll have to return for them later.)
Head inside and chat with the Ferryman. This fellow will boat you across the river of souls, letting you access areas you've already discovered. You'll be using him a lot in the future, but for now, teleport yourself back to the Paris Streets.
You'll emerge in the Justice District Sewers. Whip up and use Holy Light to get out of the Ferryman's Wharf room. If you take the eastern exit, your path will be blocked by a drawbridge. So head west to find yourself on the opposite side of the Bridge of the Millers, which you might remember from Part 1 of our walkthrough.
Go west, take out the Merman, and hop atop the waterwheel to face Dracula's Castle in the distance. A brief cutscene will play, and then Rose can head east. (You may want to hit up the nearby Mirror of Life to save, though.)
In the Court of Justice, there are a few things you can do. First, swing up onto the bridge and defeat the Skeleton Soldiers, Skeleton Archer, and Skelerang. Then slide through the gap and head down to find a lever that opens the barriers on the ground.
Now, you can attempt a difficult bit of swinging and platforming on the left side of this area by using the Anchors to swing up through a Chaos Shard-blocked shaft. You'll need to quickly whip two Sharpened Anchors and use Holy Light in mid-air to access them, and your reward for successfully doing this is a Brave Heart Fragment.
You can also explore the eastern side of the Court of Justice. There's a door that leads to the Bishop's Office. There, Rose can find a note from Trevor, but there's no sign of the Bishop. There is a breakable wall on the right side of the office where the Hospital Relic Clue, related to the Miser card, is located.
Exit the office, head upwards, and after some more platforming, Chaos Shard manipulation, and swinging, you'll reach a lever that makes a handy shortcut, as well as a top route that leads to an extremely impressive tree-encrusted chapel - the Palace of Justice.
Enter the Palace of Justice. It's very majestic inside and relatively peaceful aside from a quick gauntlet room full of Skeletons. After they're dead, Rose will stumble upon a gigantic tree that looks as if someone's residing inside of it. This patron saint was encased in the tree by Dracula, and there's a mighty scale in front of him. You can interact with the scale to receive the Balancing the Scales of Justice Clue, which is related to The Judge card.
You can attempt to balance the Scales of Justice, but Rose's health will be drained. (It'll refill automatically, so feel free to try this if you wish.) So simply mark this place on your map for later, and drop back down to the Bishop's Office. Exit east to reach the Docks.
You're awfully close to the castle now, but before going further, go one level down and slide through the gap to reach an exit that doubles back to the Justice District Sewers. There's a blocked door in front of you; ignore it and activate Holy Light to drop down.
Whip your way past the spinning saw blades on the wheel and then use Holy Light and another well-placed Arcane Whip swing to reach a lever on the wall. This lowers the drawbridge that we saw at the start of this Step, meaning that you can quickly get back and forth from the Ferryman's Wharf to the Docks in the future. You can now also whip and wall jump your way up to that chest, which contains a Bastard Sword.
It's time to head outta here. Exit west and return to the Docks, then proceed right to enter a gauntlet against a Minotaur. If you've played old Castlevanias, you may be familiar with these bull-headed dudes - they charge at you, swing away with a big axe, and occasionally launch themselves into the air for an axe slam. Smack away with your Whip or use the new Bastard Sword, then exit right to reach the Gate to the Stone Bridge.
There's a Mirror of Life just to the right when you enter this room, so save and heal. Then take the stairs, which end in a massive gate. Hit the lever and the gate will open, revealing the gothic spires of Dracula's Castle itself. All of this was just the warm-up. The true challenge is about to start!
Rose is hurting and battered, but this sordid evening has just begun. Her mission has now gotten all the more serious, and with Trevor now out of the picture, this Belmont's quest has morphed into one of vengeance. For now, go back to our walkthrough hub and prepare yourself, for the sprawling Main Hall of Dracula's Castle awaits.